")
")
")
")
")
")
")
")
")
")
")


 Get 10% OFF With Coupon Code Vland2026


09-17 Volkswagen Polo MK5 (6R/6C) Vland Dual Beam Projector Headlights With GTI Demon Eyes Black
- Fitment: VLAND LED headlights assembly for Fit For
Volkswagen Polo MK5 6R (03.2009-03.2014) With Stock Halogen Headlights
Volkswagen Polo MK5 6C (04.2014-09.2017) With Stock Halogen Headlights - Not Fit For Volkswagen Polo 6R 6C (2010-2017) With Stock HID/Xenon Headlights.
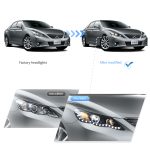
- Designed as a perfect replacement for your OE lights, they install the same way as factory units.
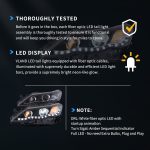
- We have the LHD Dual Beam, RHD Dual Beam, LHD GTI Demon Eye and RHD GTI Demon Eye 4 edition in stock. They are the latest LED technology headlights features turn signals and dynamic activate lighting, choose the one you want best and place order now!


05-13 Toyota Vios/Yaris 2th Gen (Ncp93) Sedan Vland Projector HeadLights Black
- Direct OEM Parts - For 2005-2013 Toyota Vios/Yarix 2nd Generation (Ncp93) Sedan only VLAND LED headlight assembly.Designed to be the perfect replacement for your OE lights, they mount in the same way as the original units.
- Important: Turn Signal Splice the original signal light wire and connect it to the 1156 bulb socket wire to make it work
- We have regular housing version 1 in stock. They are the latest LED technology taillights with sequential turn signals and dynamically activated lighting, choose what you want the most and place your order today!


18-24 Ford Mustang 6th Gen Facelifted Vland LED Dual Beam Projector HeadLights Black
- Fitment: VLAND LED tail lights assembly for FORD MUSTANG 6th Gen With Stock LED HeadLights 2018-2024. Designed as a perfect replacement for your OE lights, they install the same way as factory units.
- OEM #: 10490L, 114-10490L, 11410490L, 10489R, 114-10489R, JR3Z-13008-B, JR3Z13008B, JR3Z13008A, JR3Z-13008-A, FR3Z-13A006-A, FR3Z13A006A, 7L7Z-13N021-A, 7L7Z13N021A, DL3Z-13C170-A, DL3Z13C170A, 8A5Z-13C170-A, CJ5Z-13C170-A, 8A5Z13C170A, CJ5Z13C170A, JR3Z-13008-F, JR3Z13008F, JR3Z13008E, JR3Z-13008-E, JR3Z-13008-D, JR3Z13008D, JR3Z-13008-D, JR3Z-13008-C, JR3Z13008C. Direct replacement of the original parts. No splicing needed.
- Function-Safer driving at night with brighter light using the latest technology. Give your car a new identity and uniqueness. Gamechanger for the look and style of your car!
- We have LED Dual Beam style in stock. They are the latest LED technology headlights features turn signals and dynamic activate lighting, choose the one you want best and place an order now!

-8%
Vland 18-20 Ford F150 13th Gen LED HeadLights With Dual Beam Projector Black
- Direct OEM Fitment - VLAND LED headlights assembly for FORD F150 2018 2019 2020. Designed as a perfect replacement for your OE lights, they install the same way as factory units.
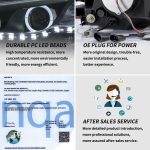
- LED DRL - No bulbs needed. Ultra-modern fiber optic style to give a touch of high-end elegance to the appearance of your vehicle making it stand out from the rest.
- Part Interchange Info - Left: FO2502335, #FL3Z13008B; FO2502344, #FL3Z13008H Right: FO2503335, #FL3Z13008A, FL3Z13008ACP; FO2503344, FL3Z13008C, FL3Z13008G.
- We have the Projector Black Housing 1 style in stock. They are the latest LED technology headlights, choose the one you want best and place order now!


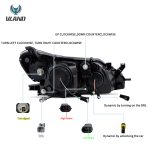
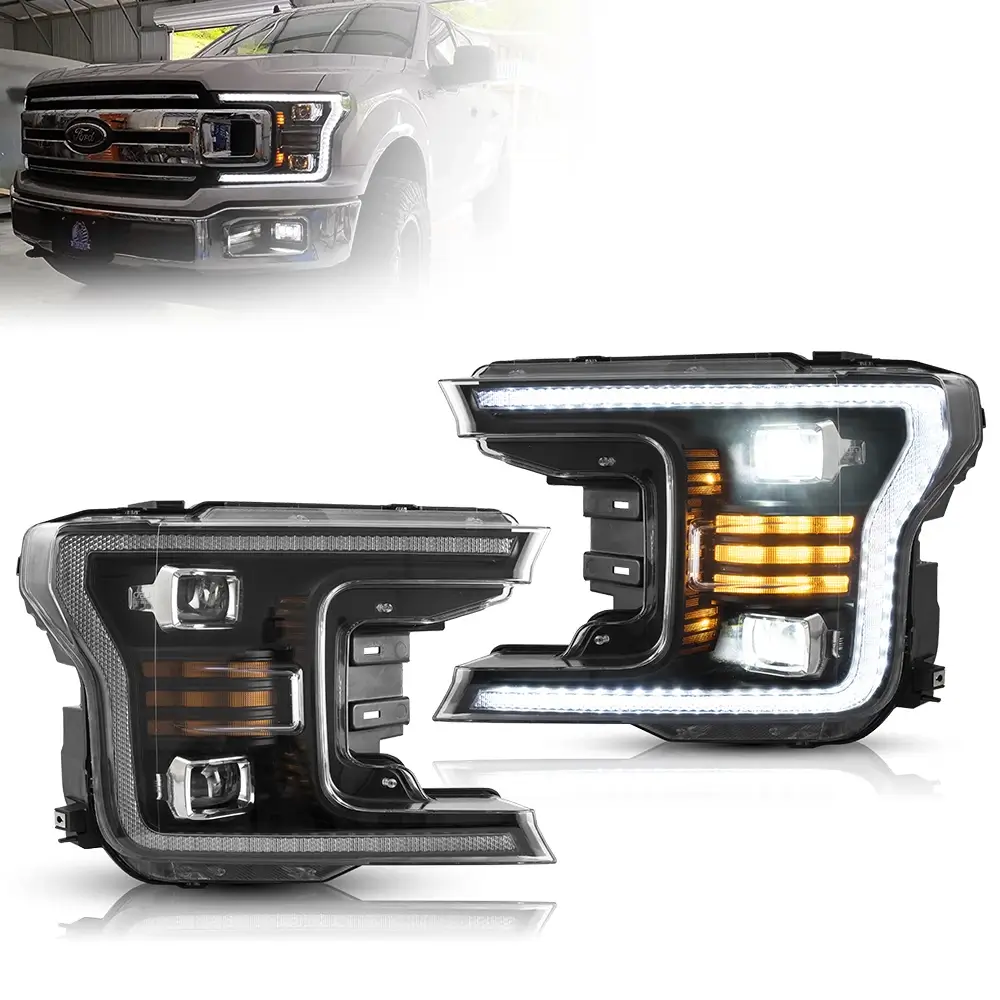
18-20 Ford F150 Vland LED Dual Beam Projector HeadLights With Start Up Animation
- Fitment: 2018 2019 2020 Ford F150 (Including XL, XLT, Platinum, Lariat, Limited, SSV, King Ranch) Headlights. Designed as a perfect replacement for your OE lights, they install the same way as factory units.
- Not Fit For F150 Raptor
- Refresh the look of your car and change your car style, and gives you and your family safer night-time driving. Including turn signal with sequential indicator, running light.
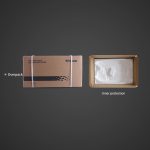
- Package Includes:One pair of head lights include left and right side.
- We have black and chrome 2 styles in stock. Both the Black and Chrome editions will be sent from the US warehouse. The variants of LED Projector headlights is the latest product and new on market, features the latest LED technology with breath lighting and sequential turn signals. Choose the one you want best and place your order now!